
Hardening Your Home Network with a Next-Gen Firewall
A practical walkthrough for turning a basic home router setup into a segmented, defensible network using pfSense or OPNsense.

Most home networks are flat: every device can talk to every other device. That's convenient — until you realize a single compromised smart bulb can reach your work laptop. In this post we walk through a pragmatic way to segment and defend a home network with a next-gen firewall.
Why segmentation matters
A flat network gives an attacker lateral movement for free. Compromise one weak IoT gadget and the whole LAN is fair game. By splitting traffic into zones, you contain the blast radius of any single compromise. Think in terms of trust:
- Trusted — your laptops and phones
- IoT — cameras, TVs, smart plugs (chatty, rarely patched, never to be trusted)
- Guest — visitors, isolated from everything else
- Lab — your test machines and VMs
Step 1: Pick a firewall
Both pfSense and OPNsense are excellent open-source, next-gen firewalls. Install either on a small mini-PC with two or more network interfaces and you get enterprise-grade features — stateful filtering, VLANs, VPN, IDS/IPS — for the price of the hardware.
For most homes, a fanless mini-PC with an Intel NIC and 8 GB of RAM is plenty. If you want IDS/IPS on a fast connection, add a little more CPU headroom.
Step 2: Create VLANs
Create one VLAN per zone and map them to interfaces (or tagged ports on a managed switch). Give each VLAN its own subnet and DHCP scope. This is the backbone of segmentation — without VLANs, "zones" are just wishful thinking.
Step 3: Write default-deny rules
The golden rule of firewalling: deny everything, then allow only what you need. Start each VLAN with an implicit deny and add explicit allows:
- Trusted → internet, and may initiate to other zones as needed.
- IoT → internet only; blocked from reaching the Trusted VLAN.
- Guest → internet only, isolated from all internal zones.
- Lab → fully isolated unless you explicitly allow a flow.
That single "IoT can't talk to Trusted" rule stops the most common home-network attack path cold.
Step 4: Filter DNS
DNS is a cheap, high-impact control. Point your network at a filtering resolver (or run one on the firewall) to block known-malicious and ad/tracker domains for every device automatically — including the IoT gadgets that can't run any security software themselves.
Step 5: Turn on IDS/IPS
Both firewalls can run Suricata for intrusion detection and prevention. Start in detection mode so you can see what fires without breaking your network, tune out the noise, then flip the high-confidence rules to prevention.
Step 6: Turn on logging
You cannot defend what you cannot see. Enable rule logging and forward the logs to a collector so you can review what's really happening on your network — blocked connections, port scans, and devices reaching out to places they shouldn't.
Segmentation plus visibility is 80% of a solid home defense.
Bonus: secure remote access
Skip forwarding ports to devices. Instead, run a VPN (WireGuard on pfSense/OPNsense is fast and simple) so you can reach your network securely from anywhere without exposing services to the internet.
Common pitfalls
- Over-segmenting — too many VLANs you never maintain is worse than a few you enforce well.
- Allow-all "temporary" rules that never get removed. Date them and review monthly.
- Forgetting mDNS/casting — if your phone (Trusted) can't find the TV (IoT), add a narrow rule or an mDNS reflector rather than opening the whole zone.
Wrapping up
Pick a firewall, carve your network into a handful of trust zones, enforce default-deny between them, and log everything. In the next post we'll feed those firewall logs into a SIEM for real-time detection — turning a well-segmented network into one you can actively defend.
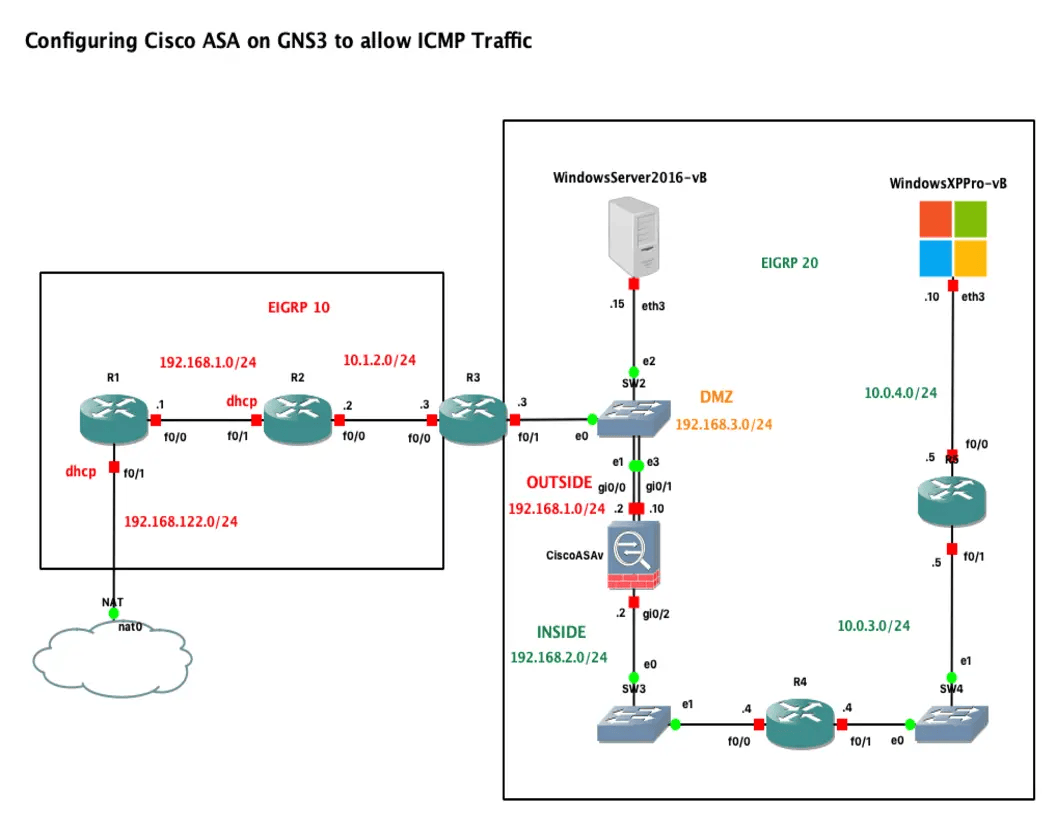
Allowing ICMP Traffic Through the Cisco ASA Firewall
View in portfolioMore in Networking

You might also like
Never miss a post
Get new cybersecurity and networking write-ups straight to your inbox. No spam — unsubscribe anytime.